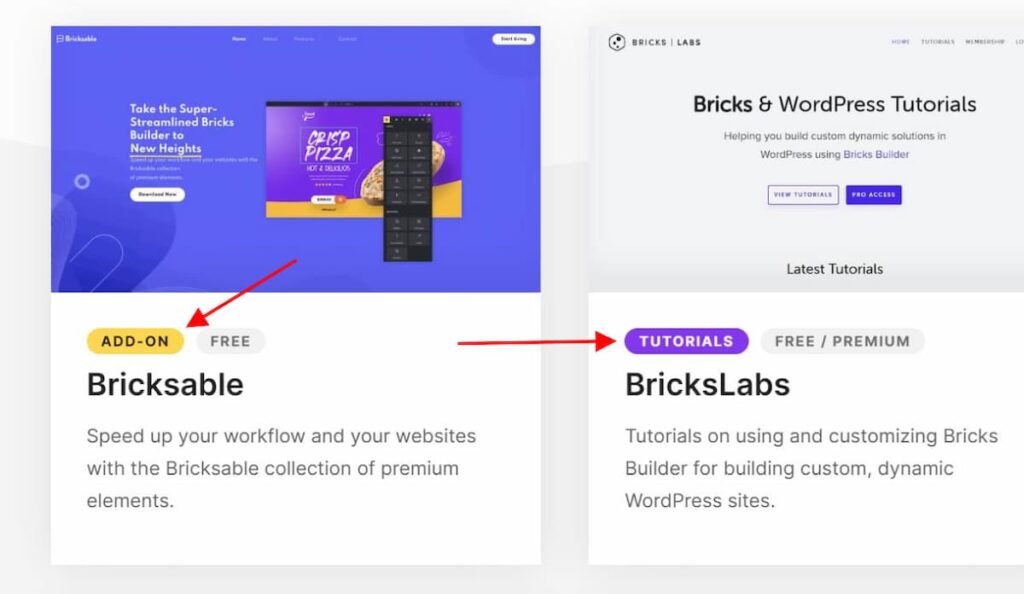
This tutorial provides the steps to add a taxonomy term (category) label or button to a query loop in Bricks Builder.
Using this method, we can customize the color of each category based on its value.
Example: bricksdirectory.com

Step 1
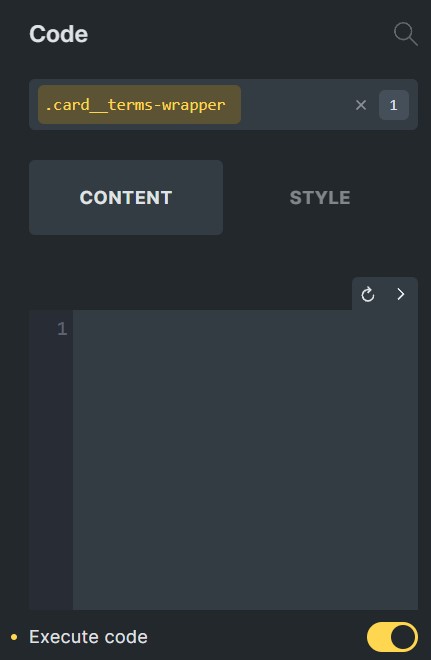
Set up your query loop, and insert a code element where you would like to display the term labels.
Add a class to the code element called .card__terms-wrapper. We will use this class to style the element later on.
Toggle "Execute code" to on.

From here, we have 2 options. We can output the list of term labels as linked, or unlinked.
Option 1: Unlinked Labels
Place the following snippet into the code element, changing 'itemcategory' to the name of your taxonomy. To display the default WordPress categories, change this to 'category', or 'post_tag' for WordPress tags.
<?php
$tax_name = 'itemcategory';
$terms = get_the_terms( get_the_ID(), $tax_name );
if ( ! empty( $terms ) && ! is_wp_error( $terms ) ) {

    $term_array = array();

    foreach ( $terms as $term ) {
        $term_name = $term->name;
        $term_clean = str_replace([' ', '-', '/'], '', strtolower($term_name));
        $term_array[] = '<div class="card__terms" data-terms="' . $term_clean . '">' . $term_name . '</div>';
    }
    echo implode( '', $term_array );
}
return '';
?>
Option 2: Linked Labels
Follow the same steps as option 1, but using the following snippet.
<?php
$tax_name = 'itemcategory';
$terms = get_the_terms( get_the_ID(), $tax_name );
if ( ! empty( $terms ) && ! is_wp_error( $terms ) ) {

    $term_array = array();

    foreach ( $terms as $term ) {
        $term_name = $term->name;
        $term_link = get_term_link($term->term_id);
        $term_clean = str_replace([' ', '-', '/'], '', strtolower($term_name));
        $term_array[] = '<a href="' . $term_link . '" class="card__terms" data-terms="' . $term_clean . '">' . $term_name . '</a>';
    }
    echo implode( '', $term_array );
}
return '';
?>
Step 2: Styling
We can now begin styling the labels.
We will start with the default styles. Add this CSS under 'Settings > Page Settings > Custom Code > Custom CSS', or wherever you manage your custom CSS in Bricks.
All of these styles can be customized as needed.
/* wrapper styles */
.card__terms-wrapper {
    display: flex;
    flex-direction: row;
    flex-wrap: wrap;
    width: auto;
}

/* default label styles */
.card__terms {
    background-color: #000000;
    color: #ffffff;
    font-size: 12px;
    text-transform: uppercase;
    letter-spacing: 0.1em;
    line-height: 1;
    padding: 5px 12px;
    border-radius: 20px;
    font-weight: 700;
    margin-bottom: 10px;
    margin-right: 10px;
}
Customize each label
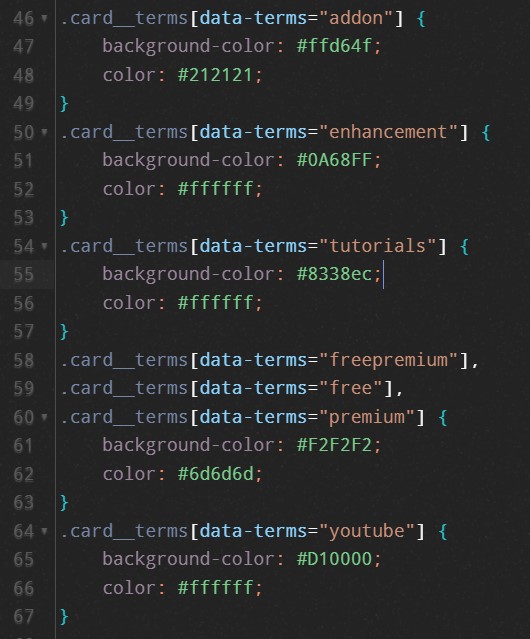
Each term label has a unique data attribute which can be targeted with CSS.
The unique value is equal to the term name, without any spaces or dashes.
For example, if you have a category named "Add-On", the data attribute value is addon.

To customize the colors of this category, we can simply target it with CSS as follows:
.card__terms[data-terms="addon"] {
    background-color: #ffd64f;
    color: #212121;
}
Using this method, you can customize each of your term labels.

Very clean and helpful. Thank you.